
Before and After - Our Master Bedroom and En-suite

This was the first completed project of our house renovation. And if we didn’t realise how much work was involved in restoring a period house, we certainly did after this!
To get on with an old house, it helps if you’re one of the following types of people:
a) Rich so that you can pay for someone else to do all the work for you
b) A tradesperson or a DIY enthusiast so that you have the tools and knowledge to do the work yourself
c) Someone who finds boring things exciting
We fall into category C (or I should say, Oliver does) – here’s a text exchange between us when we’d just started this project:

I kid you not.
When we moved in, he could barely put up a shelf (he tried in our last house – it was a floating shelf from Next which came complete with fixings. It took him FOUR HOURS to put up and even then I wasn’t allowed to put anything on it). After the excitement of moving into our forever home had worn off a bit, we realised that we didn’t have enough money to pay someone else to do the work and we didn’t want to wait years to do it. So, armed with his hammer and textbooks, he set to work.
The Layout
This was the original floor plan for Bedroom 1 (our room) and Bedroom 2 (Jack’s room) - the ensuite was in the wrong room:

Before
This is what our bedroom looked like when we moved in (estate agent photos):


The wall-to-wall wardrobes were taking a lot of space off the room and were concealing a chimney breast and alcoves.
And here’s the ensuite:

Because Bedroom 2 was big enough, we decided to knock out the existing ensuite and create two new ones:

Work Begins

See the lovely cornices hidden behind the wardrobes? Well they came down with the ceiling.
My motto when renovating period houses is to always expect the unexpected. On this project, when we removed the wallpaper, the old lath and plaster started to crumble and the ceiling started to sag. So the ceiling was pulled down. And here it is on the floor:

And here’s Oliver after a day of bagging up lath and plaster (a really hot summer’s day that I’d spent with the boys in the garden 😊):

*Facial expression not representative of actual mood.

The Interior Design Scheme
While the boys were busy putting the room back together, I made a start on the fun stuff! At the time, I was partway through my Interior Design diploma. For my colour module, I’d chosen to create a presentation board using Pantone’s colours of the year - Rose Quartz and Serenity.

They’re a really beautiful combination that remind me of a sunset sky. I wanted a soft, calming feel in our bedroom and these two pastel colours work together perfectly to create a tranquil mood. I’d also just found a second-hand Monet Waterloo Bridge print for £10 in our local Sell-it Centre and it pulled both colours together perfectly.
Meanwhile in Bedroom 2, we completely knocked out the old en-suite (when I say ‘we’, I actually mean Oliver).


Then we added stud wall partitioning for the new ensuites. See the recess to the right? That’s where the new built-in wardrobe and desk will be.

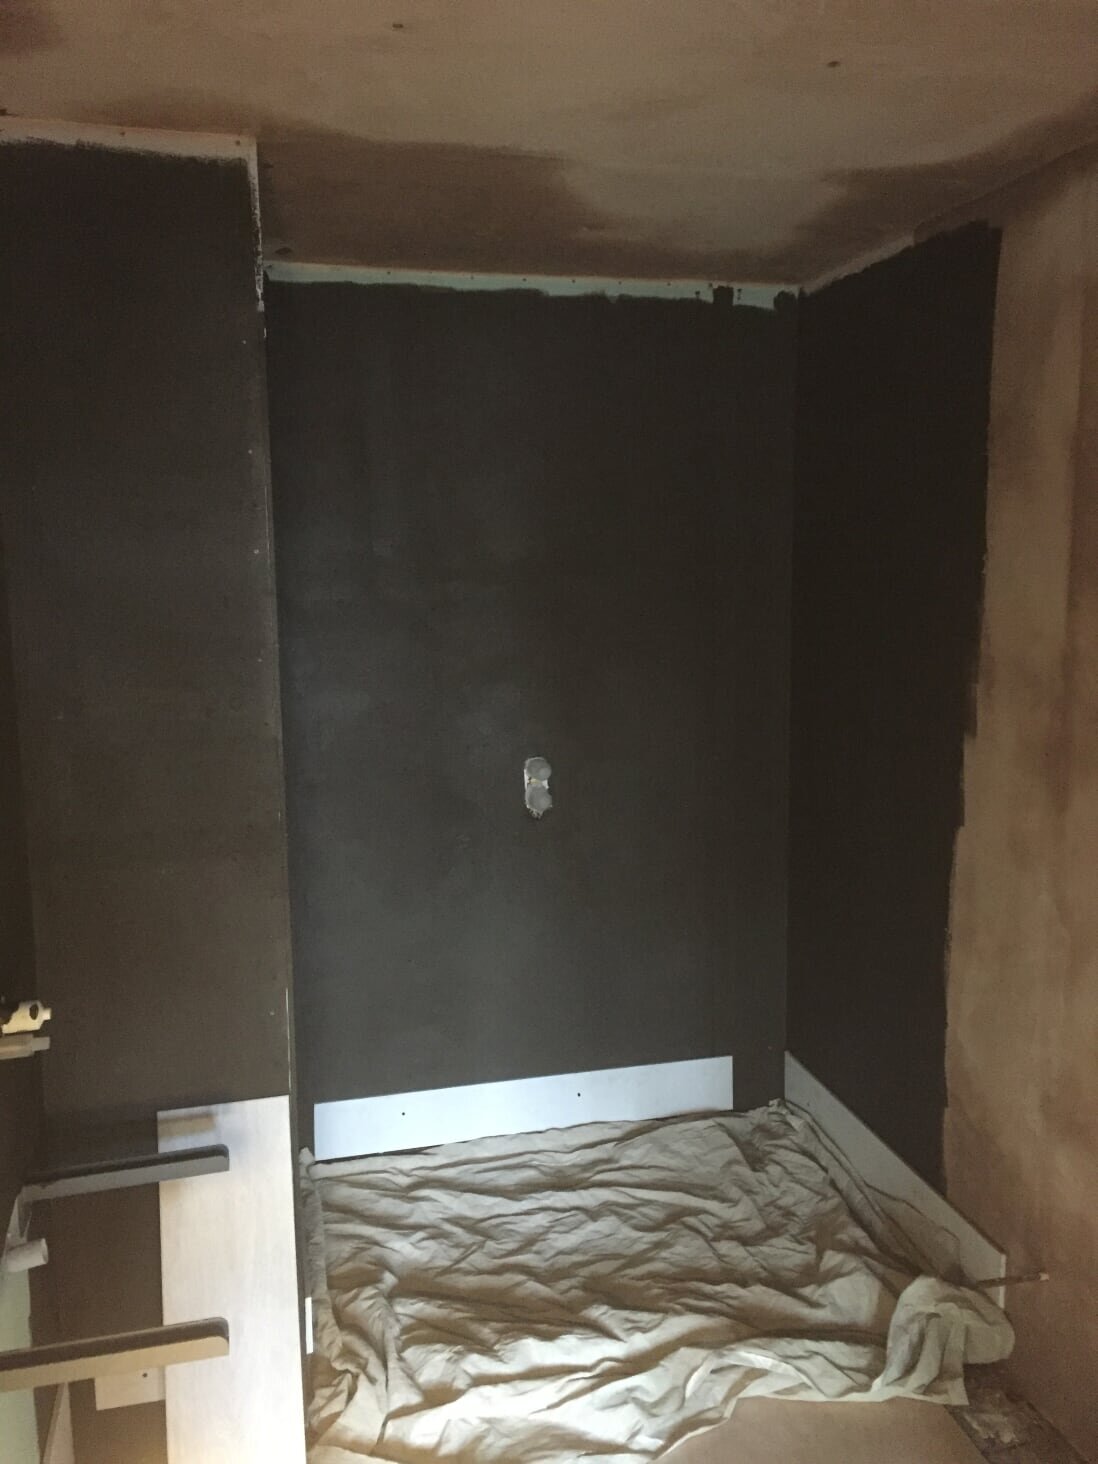
Newly plastered walls!

We sourced an original door for the en-suite from local door restorers, Falcon Pine.

So that we had plenty of room for clothes storage, we decided to have wardrobes built into the alcoves either side of the chimney breast. Another local company, Wharfedale Handmade made and fitted them.
I also sourced a cast iron fireplace – I always try to include some black in every room to ground the space. It’s especially important when using pastels because it stops the room looking wishy-washy.
One of my main regrets in life is not restoring the floorboards in our bedroom. There were a few damaged ones so we thought they were beyond the point of repair but we could easily have replaced them. Instead, we had Karndean vinyl flooring installed to create a bare floorboard look, hence the plywood. One day, those floorboards will be restored! For DIY advice on how to restore floorboards, read my blog post here.
The en-suite was coming along nicely:
Because we created the en-suites from scratch, we had complete freedom over their shape and size. We created a big walk-in shower area and made enough room for two basins. We also created built in storage above the toilet in one of the alcoves.

I wanted a more modern look for this room so I chose wood effect tiles for the walls (providing plenty of warmth and texture) and for the floor, a modern take on traditional patterned tiles.
And now for the finished rooms!
After

The lovely laid-back bedding, cushions and lamps were all from Loaf. The bedside tables were from Next and the lovely Ercol dressing table was from John Lewis.


I sourced the beautiful radiator from Vintage Cast Iron Radiators.


See the completed Bedroom 2 in my Tween Boy’s Room Reveal.
Thanks for reading! Hope you like it - let me know in the comments. And if you’re in the middle of a project in a period house, I’m sorry if I’ve put you off - it will all be worth it in the end!